Car Project - Day 0
Recently I had an idea that I would like to play a bit with robotic cars. Here is a day 0 of my car project.
The goal of the project…
Ha!, Got you! There is no goal for the project. I want to keep playing with it, having fun and see what I will arrive to. I might or might not use ROS with it, there might also be some cameras, sensors and extra actuators involved in the future. But one thing is certain - it’s going to be fun. So I guess there is a goal after all.
Setting up
Look at this beautiful Nssmo Skyllin body:
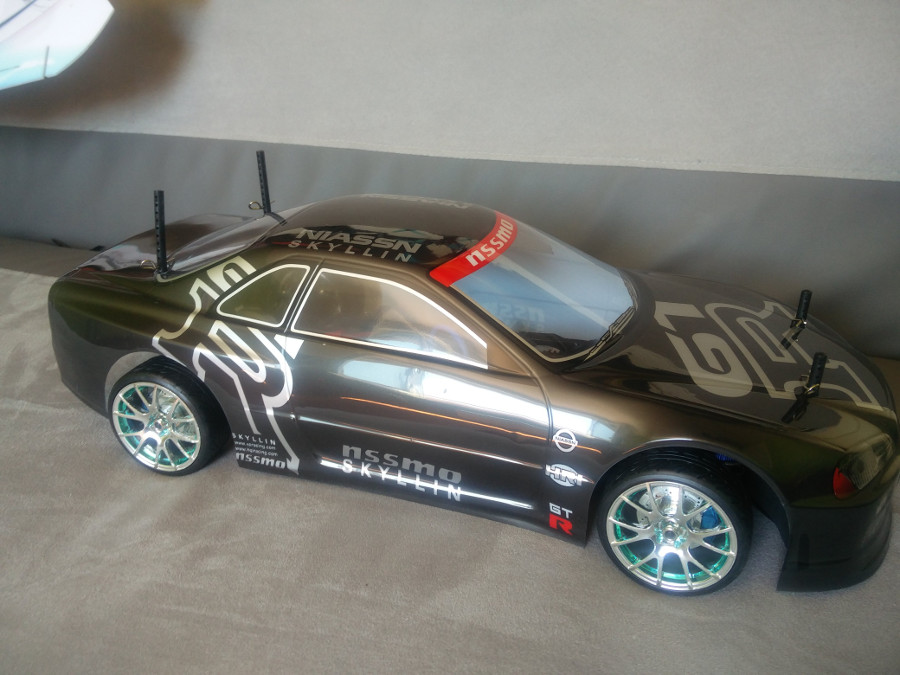
Now throw it away, we won’t need it in this project. What is most important now is what is under the hood
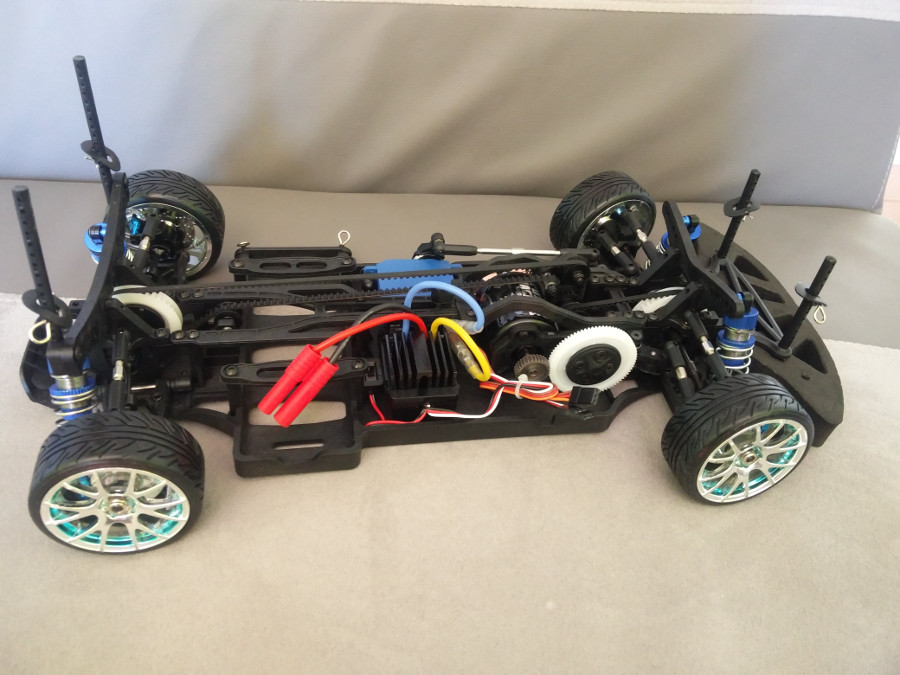
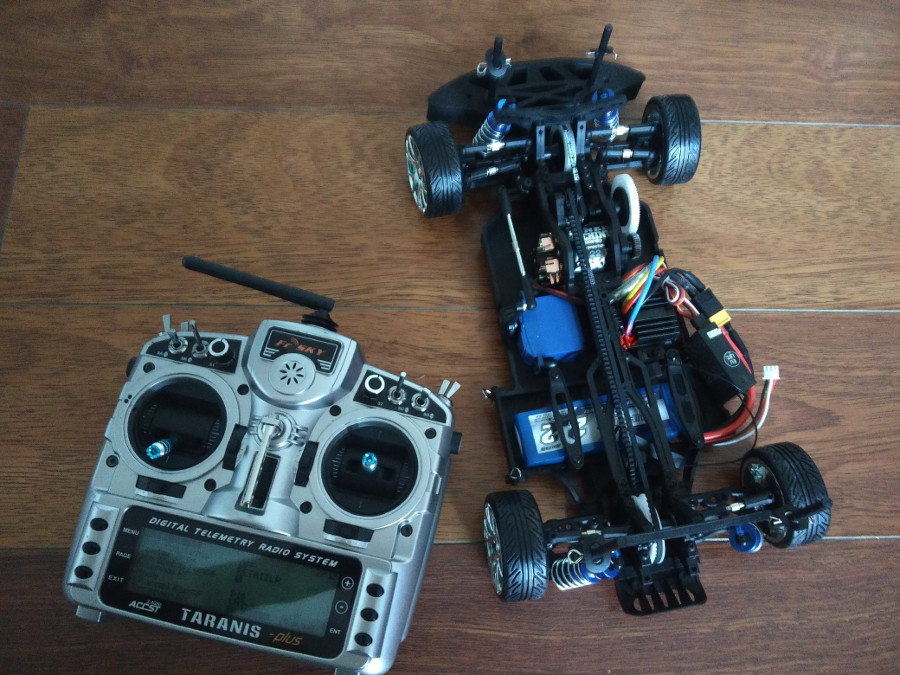
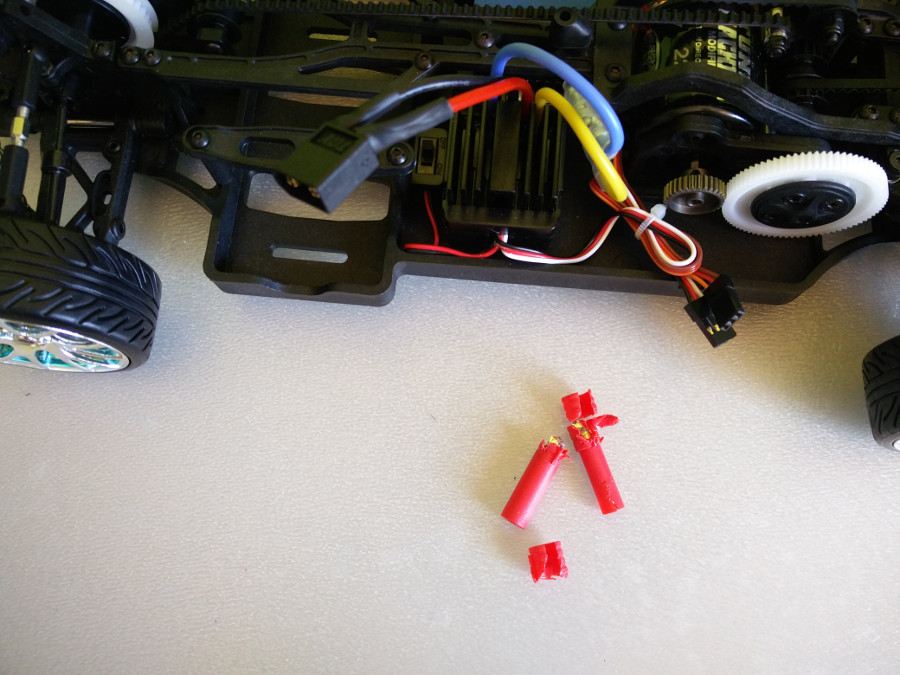
The parts of interest are:
- Servo for steering wit ha rod attached to it that is used for steering
- A DC brushed motor attached to a fairly sophisticated belt system (the car is 4WD)
- An ESC for the brushed motor (there are some switches for reversing the motor direction and it says it accepts 2-3S batteries - something that needs to be investigated in the future)
Sadly the ESC comes with XHT connector which. That leaves me no other choice:
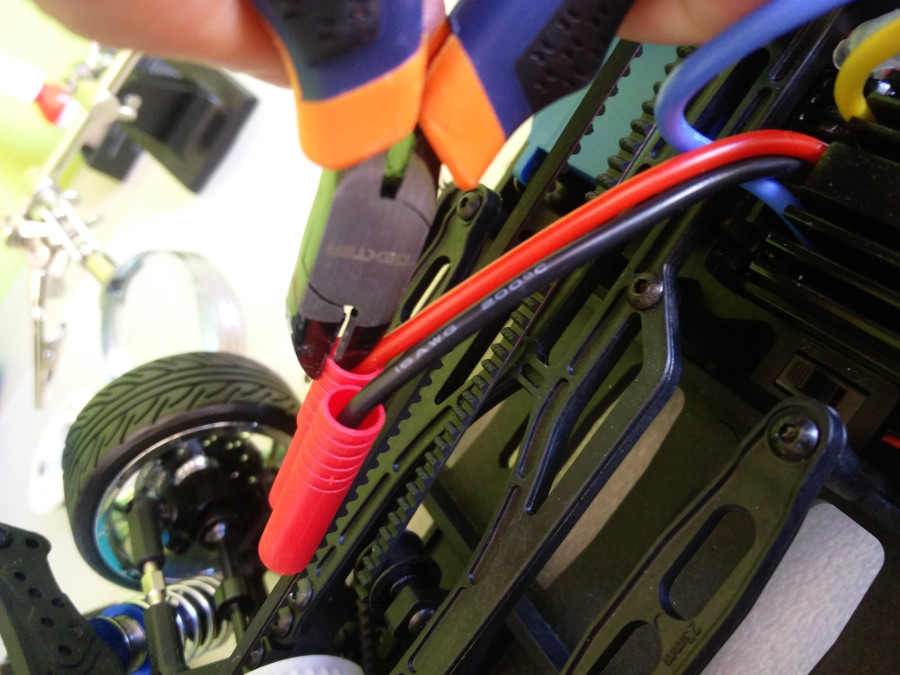
It had to be done because I have plenty of drone batteries that I can utilize and they are all with XT60 connectors. If you don’t like soldering or you starting with no batteries I recommend keeping XHT and buying batteries with XHT connectors.
Testing
At this point I just had two things left to test my setup. Connecting the battery and R/C receiver. After I was done with it this happened:

Next steps
There are some further steps I already have in mind for this R/C car:
- Add some sort of controller thing
- Add a plate for holding all the future components (to make sure they don’t make their way into the drive train)
- Replace the wheels with some that actually have some traction
Stay tuned for more information!
Part list
For the sake of completeness, here is what I used in the setup described above:
- Mission-D RC car from HobbyKing
- R/C Transmitter - I used Taranis (Amazon ref link)
- R/C Receiver (Amazon ref link)
- 2S 2200mAh battery with XT60 connector (Amazon ref link)
- XT60 connectors (Amazon ref link)
The only reason I went with FrSky transmitter and receiver is that I already have them, if I had to start from nothing I would get something cheaper (probably a 2 channel RC car transmitter and receiver). Similarly the reason I got a battery with XT60 connector is that I can reuse the batteries I already have. If you want to start from scratch I would suggest getting a battery with a HXT connector that will match the one on the car (If you want to miss the fun of soldering XT60 connector on the car’s ESC that is).