I Created a Project-based ROS2 Course
Earlier this year, I made a beginner’s course Build Mobile Robots with ROS2, that focuses on mobile robots. This blog post describes my experience and thought process when designing it.
Introduction
I used ROS for my Master’s Thesis (A 3D Mapping Payload for UAV Applications) in 2013. Then, I started working full-time with it around 2016 and never stopped. My main focus was always on applications using drones and mobile robots, so covering mobile robotics was a natural fit for the whole project series.
Why did I switch from calling it a course to calling it a project? Manning LiveProjects are not traditional online courses. Instead, the students get the materials they need to go through by themselves. Then they complete the assignments themselves, with occasional help from extra resources, mentors or fellow students.
Project Series
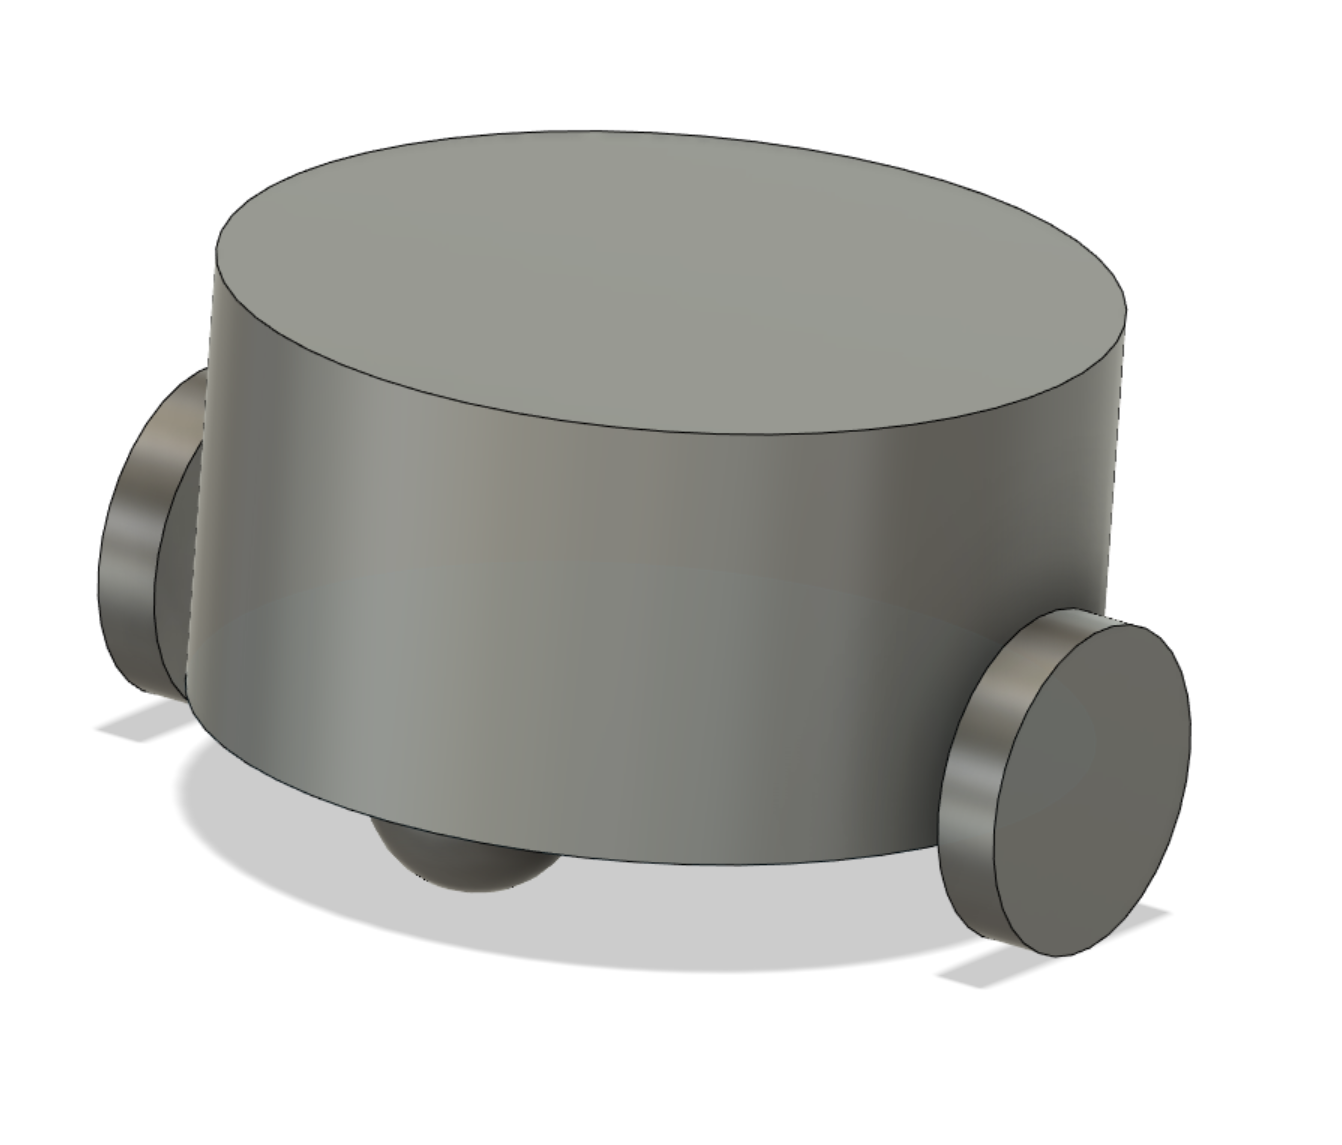
In the project series, you will be joining RoboPrototypes, a company focusing on developing custom robotics solutions for their customers. Once you complete your first project, you are on board with the company, and you have to deliver Dribot, a mobile robot prototype that will carry drinks in the customer’s food courts in the mall near you.
Your quirky boss Michael (any potential resemblance to characters from a certain TV show about people working in an office is purely coincidental), who at one point is careless enough to hit your co-worker’s shin really hard with a robot, will be closely monitoring your progress.
There are two highlights of my liveProject series that I think can make it interesting for students:
- The author’s insights build on my expertise working in the past four years as a consultant, dealing with a platitude of robotic platforms (more on this in the next section)
- Mentorship - if any student gets stuck in a project, they can reach out on the chat to get help from me
Series Structure
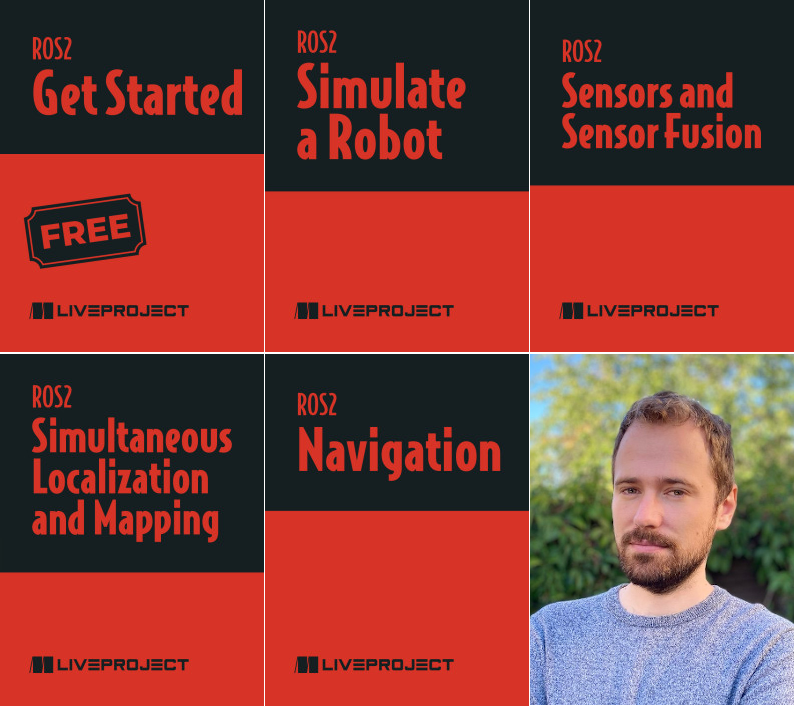
I love the modularity that comes with ROS. Thanks to it, I was able to structure the course into the following sections that make logical sense:
- ROS2 - Getting Started - where we follow the official tutorials and create some simple launchfiles and nodes
- ROS2 - Simulate a Robot - where we create a robot description and simulate a differential-drive robot in Gazebo Classic
- ROS2 - Sensors and Sensor Fusion - where we add a Camera, LiDAR, and IMU and implement robot_localization for sensor fusion
- ROS2 - Simultaneous Localization and Mapping - where we use Slam Toolbox for, well, SLAM
- ROS2 - Navigation - where we use Nav2 for navigation in the AWS RoboMaker Small House World
With the above projects, each consisting of three to five milestones, the work should be divided into manageable tasks. My idea at the time was that each of the milestones should take at most one evening to implement, and I hope I achieved this goal.
Resources
A project is as good as the resources contained within
Me, right about now
Since the idea behind the LiveProjects is to provide resources to students so that they can complete the project themselves, it’s essential to find quality resources. Fortunately, right before I started working on the series, Andreas Bihlmaier began working on his book Robotics for Software Engineers. Andreas does a fantastic job explaining robotics concepts, I mean, take a look at the image below:
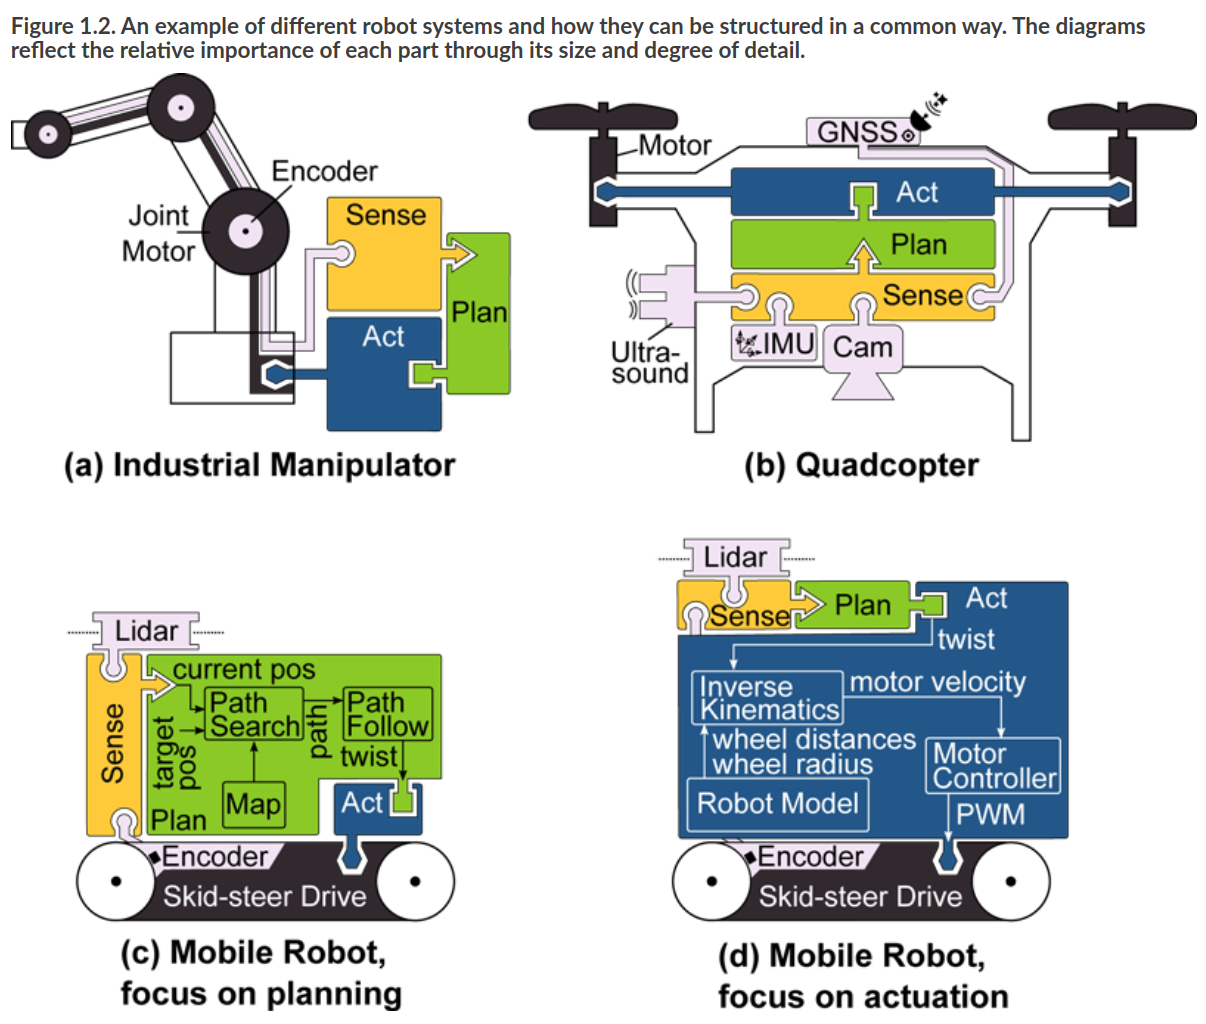
Since both of our projects are with Manning, I can link to Robotics for Software Engineers throughout my liveProject series. Additionally, students get a couple of months of access to the book when they purchase a liveProject
On rare occasions, I could not find materials that would explain some concepts easily enough. In such cases, I wrote the introductions myself or created a dedicated blog post in one case.
Author Insights
As I mentioned earlier, the author’s insights are my favourite bits since they allow me to share some experiences from the field. Here is a sample from one of the milestones in the Sensors and Sensor Fusion liveProject:
Almost every client I have had that was working with mobile robots had some issue with an IMU. These insights will be quite long, but building intuition about IMUs will help you build quality robots. I will have some insight to offer in the next milestone as well.
Transformation frames
If you’ve gone through the previous project (Simulate a Robot), you will remember we discussed coordinate frames. You might remember that for a typical robot platform, you would expect to have an x-axis pointing forward, y-axis pointing left, and z-axis pointing up.
The thing with sensors is that they will always report data in their local coordinate frame, so you might find an IMU that, when in a default position its z-axis is pointing down. (Let’s say that the x-axis is still pointing forward; this means that the y-axis points to the right).
The first thing we need to take care of is to make sure that our imu_link has the same orientation as the orientation of the IMU coordinate frame (in this case rolled 180 degrees around our robot’s x-axis).
This situation will get tricky when you start analyzing raw data. Since your IMU data will be referenced in the IMU frame, this means that if your robot rotates counter-clockwise it will report a positive angular velocity around the z-axis, but your IMU will report a negative velocity! This is totally fine as long as the imu_link correctly describes the orientation of the IMU coordinate system.
Any system that takes in this velocity will need to look up the coordinate transform between the base_link and the imu_link.
Vibration
A good rule of thumb is to isolate the vibrations physically. Ideally, you should put a rubber pad or thick double sided tape between the IMU and your frame to dampen the vibrations between the frame and the IMU.
Even though you could filter the IMU data in software, I would recommend always trying to solve the problem in the physical domain first whenever dealing with sensors or actuators and only then start looking into the issue through software.
More insights on IMUs are coming soon in the following milestones!
Statistics
Here are some statistics on the project series that you might find interesting:
- Months from project start to release: 7
- Working hours to deliver liveProject: 177.5 hours
- Working hours spent on project mentorship so far: 9 hours
- Total number of text for the whole project series: 34,019 words OR 234,120 characters OR 98 A4 pages (font size 10)
- Total numbers of commits in my project repository: 146
- Number of certificates granted so far: 2
- Number of students that signed for the free project so far: 258
- Number of students that signed up for the follow-up projects: 97
The Difficulties
One thing I did not figure out in this project series, and I would be super grateful if anyone has any ideas for a clean implementation, is handling a consistent code base along multiple projects. We are building up on the same code base from the second project until the end. Each of the milestones adds a bit of new code or configuration, and when I started, I was copying the source code between milestones and appropriately providing partial or full solutions for each of them.
The above means that if there is a bug in the first milestone of the second project, I would need to manually copy the fix over to all the other milestones (I did it twice already). Perhaps a cleaner solution would be to use a branch per project milestone, but this way, I would need to apply any fixes to up to 16 branches, not really reducing the complexity of this operation.
If you have any thoughts on this, please let me know. If you would like to create a project like this, I suggest you have a good think about this issue before you start.
Outro
This project was quite a ride. The main challenge for me was consulting close to full-time and then also working on this series. With the help of Manning Staff, outstanding Reviewers and Implementers, I delivered what I think is a solid ROS2 project series for beginners who would like to learn how to use ROS2 for mobile robots.
Updating the whole series to work with Gazebo Fortress and ROS2 Humble is still on my plate. Hopefully, I will be able to deliver this summer.
That is all that I have for this update. Happy roboting!